How to Make Old-Fashioned Lye Soap
I usually make goat milk soap using only plant oils and butters—mainly olive oil, coconut oil, shea butter, and castor oil. Most of the soaps you see for sale on our Shop page are made that way. However, this week, and for the foreseeable future, and pretty far into the un-forseeable future, we have an abundance of lard. While rendering that abundance of lard, my mind wandered, as it often does, to how the first bar of soap came about.
Morwenna and the First Bar of Soap
My imagination puts a middle-aged English woman standing by a cast iron cauldron, the day after hog processing, melting lard over an open fire in the year 1283. For conversation’s sake, we will call her Morwenna. Morwenna’s cantankerous goat gets her head stuck in the fence once again—as cantankerous goats are prone to do. Morwenna turns suddenly at her precious goat’s bellowing and drops a ladle full of lard into the ashes. Morwenna then proceeds to take that ball of waxy stuff and place it on her fireplace mantle for four to six weeks, at which time she declares, “I fhall call it foap.”

Photo by Artem Maltsev on Unsplash
How Soap Was Actually Invented
Since my imagination is pretty limited, I was completely wrong. Soap was being made and used in many parts of the world, long before 1283. The ancient Babylonians are credited with inventing soap by at least 2800 B.C. Clay containers with the recipe inscribed on them showed that they used fats combined with wood ash and water to make soap for washing wool and cotton, but not necessarily for personal hygiene.
Later evidence of soap making and use have been found in Egypt, Phoenicia, Greece, and Rome. The Celts and Arabs made soap with recipes similar to what we use today. Arabian soaps contained colors and fragrances, and they made hard soaps and liquid soaps.
In slightly more recent history, my dad said he remembers his mother making soap from lard and it often had small bits of cracklings in it. I suppose that would have an exfoliating effect. My mother said her grandmother would use the same type of lye and lard soap and just drop it in her dishwater to wash the dishes, shave off bits for the laundry. They used the same kind of soap for bathing the kids. I wonder if that’s why people only took baths once a week.
Our Project
Soap made with only lye, lard and liquid cleans perfectly well, but does not create the suds we now associate with “getting clean.” For this tutorial, I formulated a recipe using lard for the fat, lye, goat milk for creaminess, and a bit of castor oil for suds. By the way, you can create your own soap recipe, but always consult a lye calculator. There are several soap calculators online, just make sure the one you use lists the type of oils, fats, and butters you plan to use. Because different oils saponify (go through the chemical process to make soap) differently, a lye calculator is necessary to be sure there is no excess lye which will burn your skin, nor too little lye, which will make the soap too soft. Soap making is now an expensive hobby so you don’t want to waste materials on a ruined batch.
If you are reading this to really learn how to make soap and not just for passing curiosity or entertainment, I recommend that you also watch multiple you-tube videos and read several sources. Soap Queen and Royalty Soaps are two of my favorite sources for inspiration. People are making amazing, intricately patterned, beautiful soaps. That isn’t what you will find in this post—this is a basic recipe with simple steps. There are several ways to make great soap and this is just one of them. The science is important and the art requires a lot of practice and skill, and more equipment.
Step One - Gather All Your Stuff:
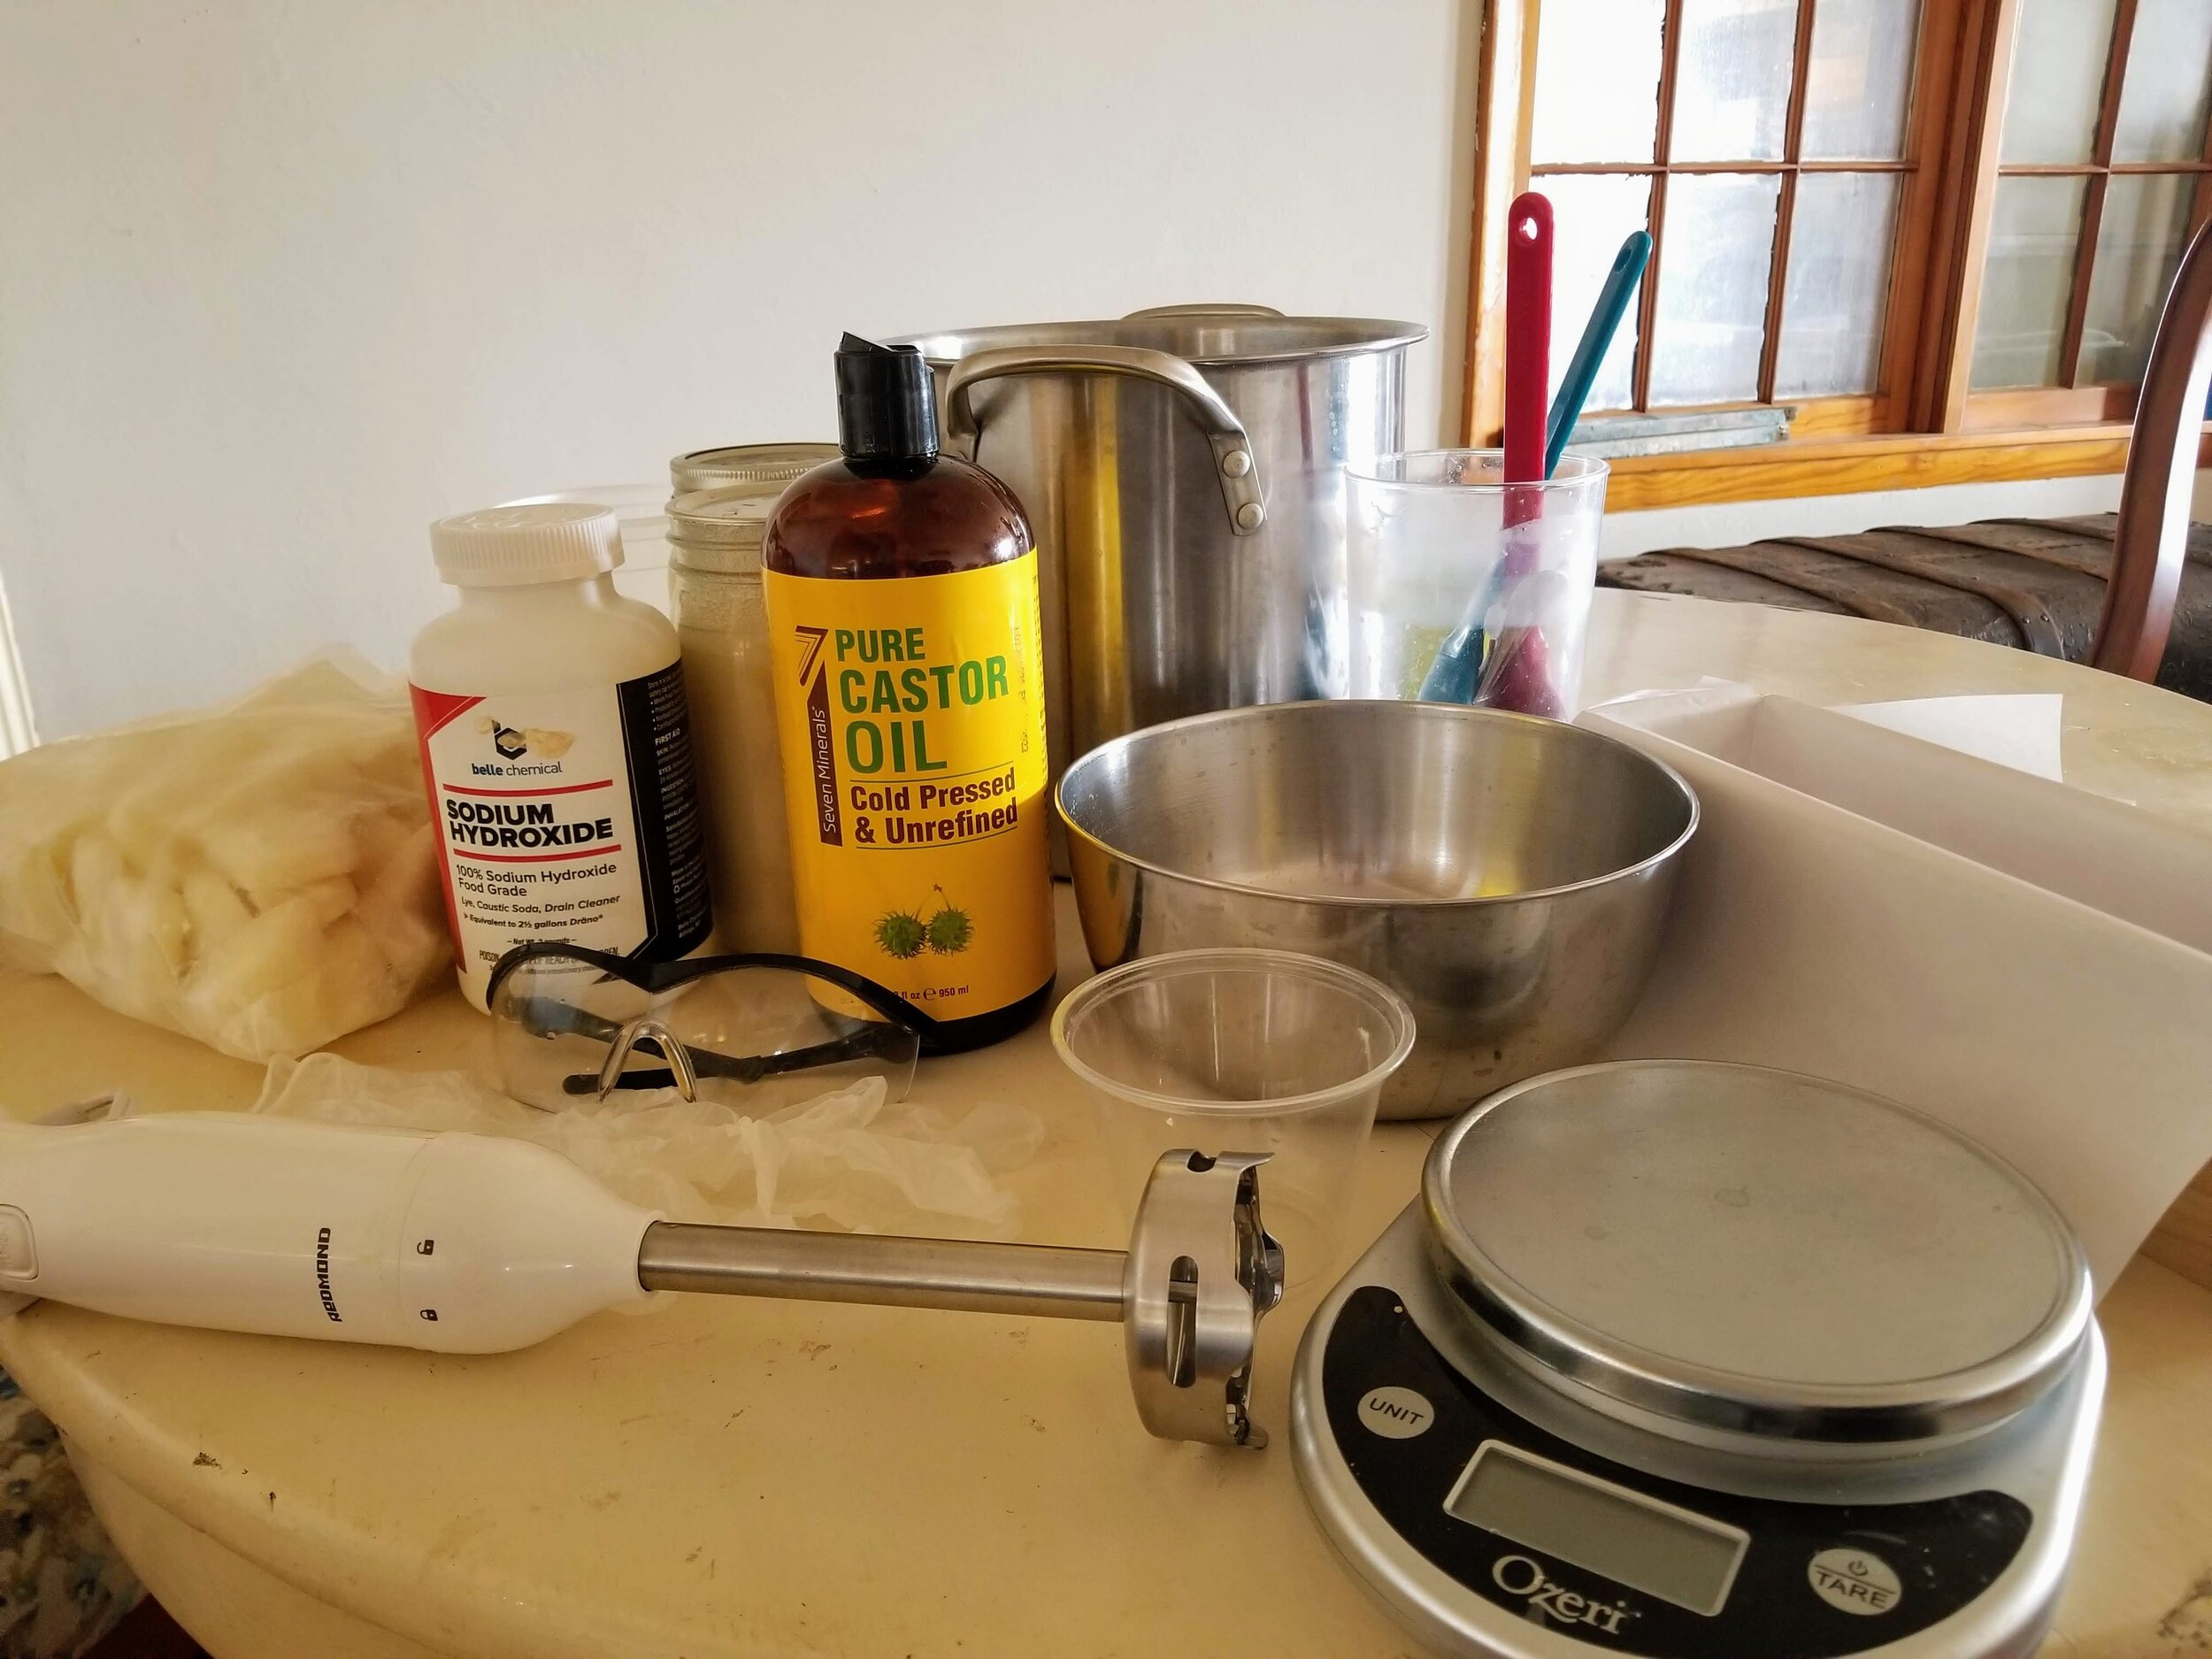
You will need the following:
Recipe Ingredients - make sure you have enough of all the ingredients before you start. You don’t want to have to do a recipe adjustment when you measure out your lye and find you don’t have enough. Ask me how I know.
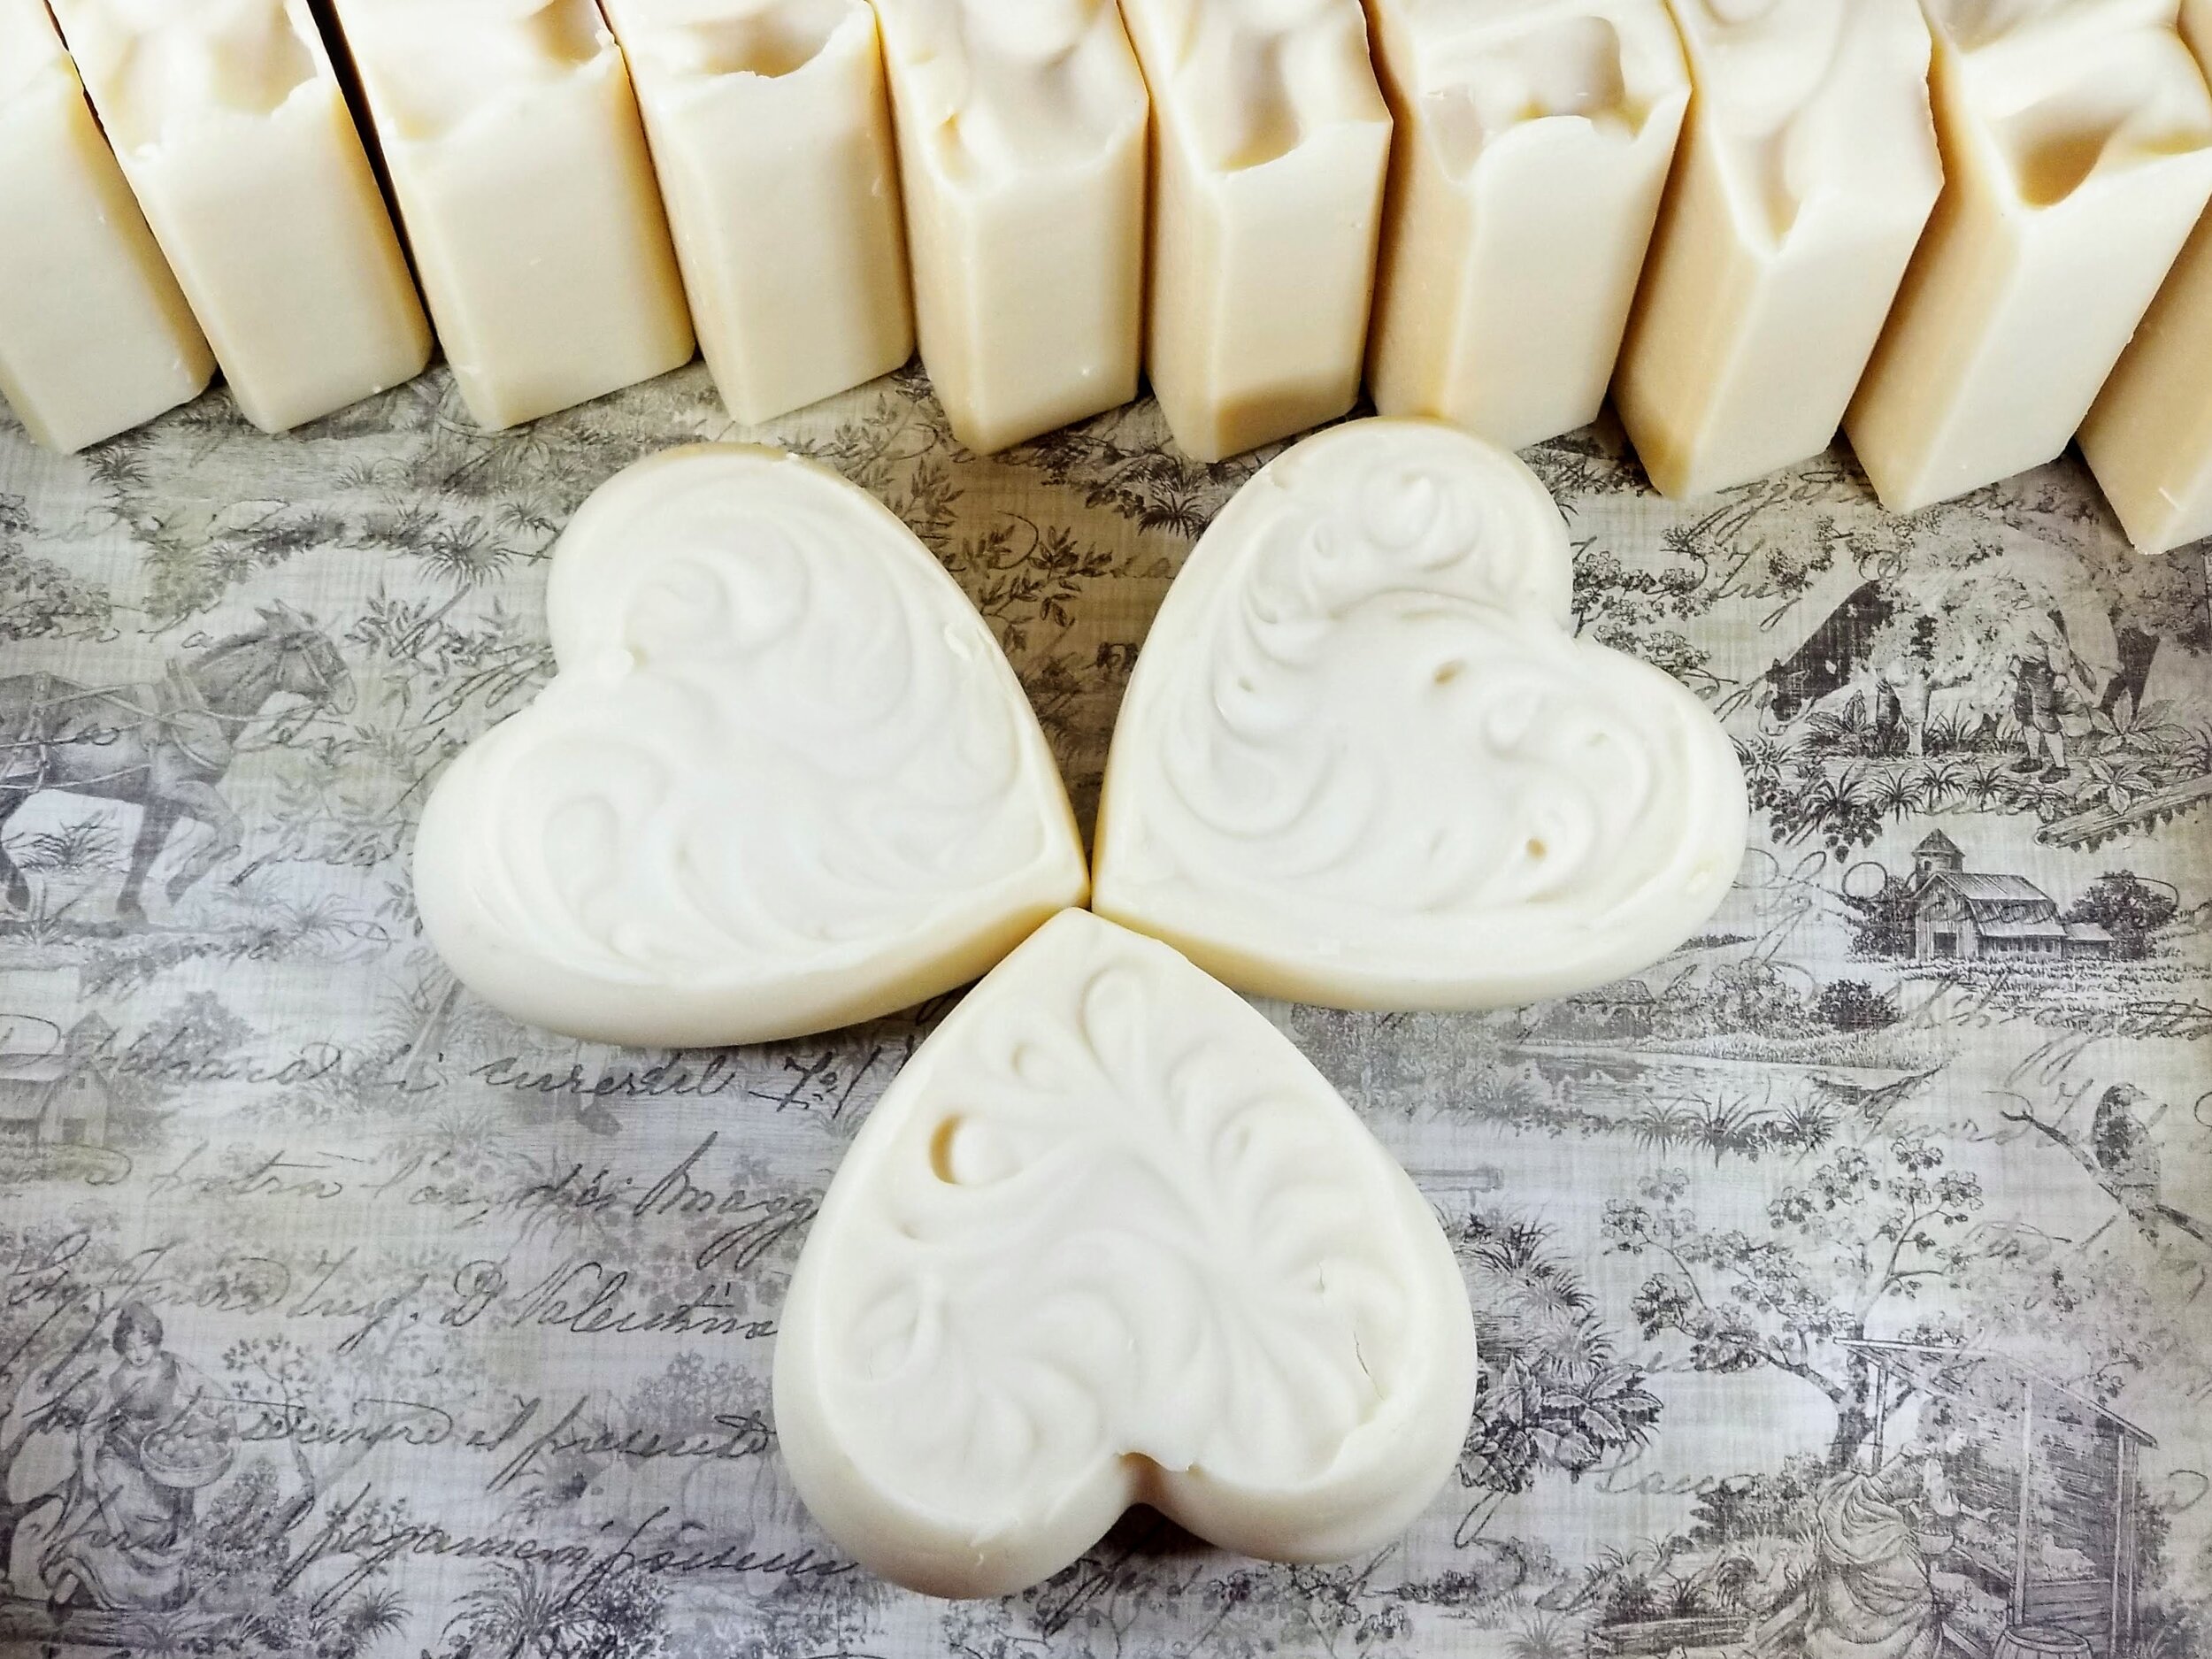
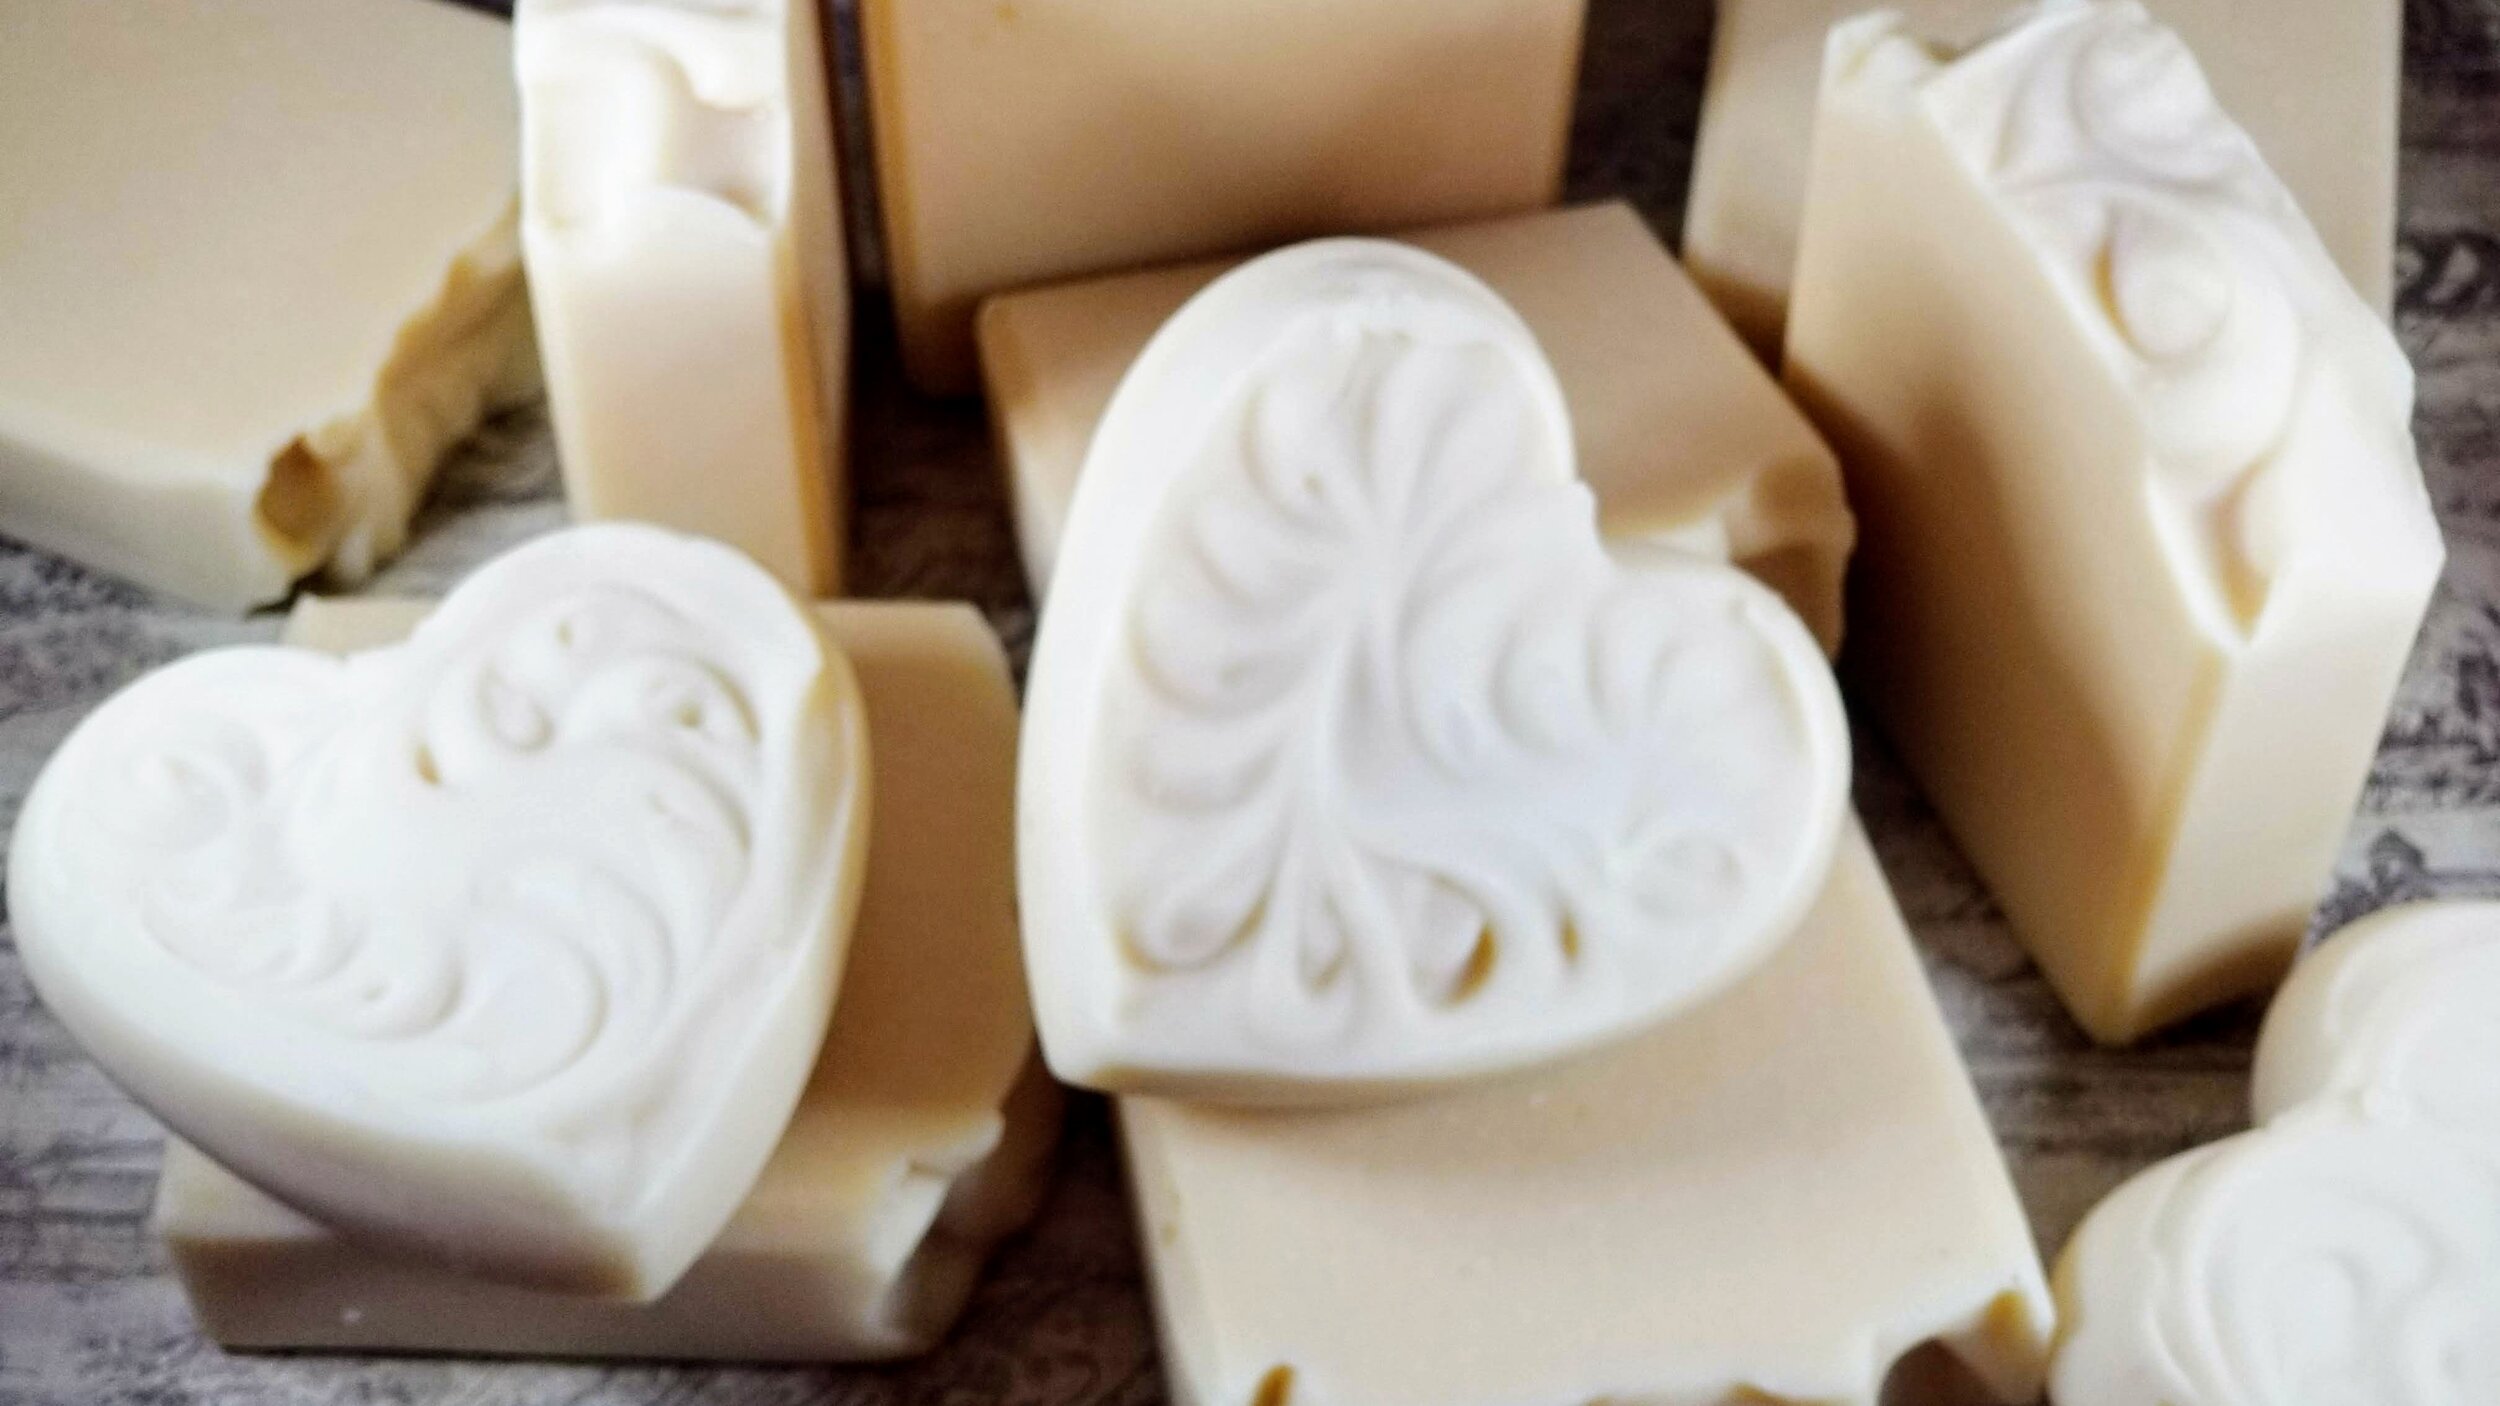
This simple recipe makes one 50 ounce loaf and 3 bonus heart soaps:
42 oz. Lard
3 oz. Castor Oil
6.3 oz. Lye (Sodium Hydroxide)
12.6 oz. Goat Milk
Safety Equipment - Gloves and Eye Protection (lye is caustic and will burn skin and eyes)
Kitchen Scale
Stick Blender
2 Containers for Mixing, and 1 Container for Ice Bath
Measuring Containers
Rubber Spatulas
Soap Mold and Freezer Paper
Any equipment that comes into contact with lye or lye solution should not be used for any other purpose.
Step Two - Prepare Mold
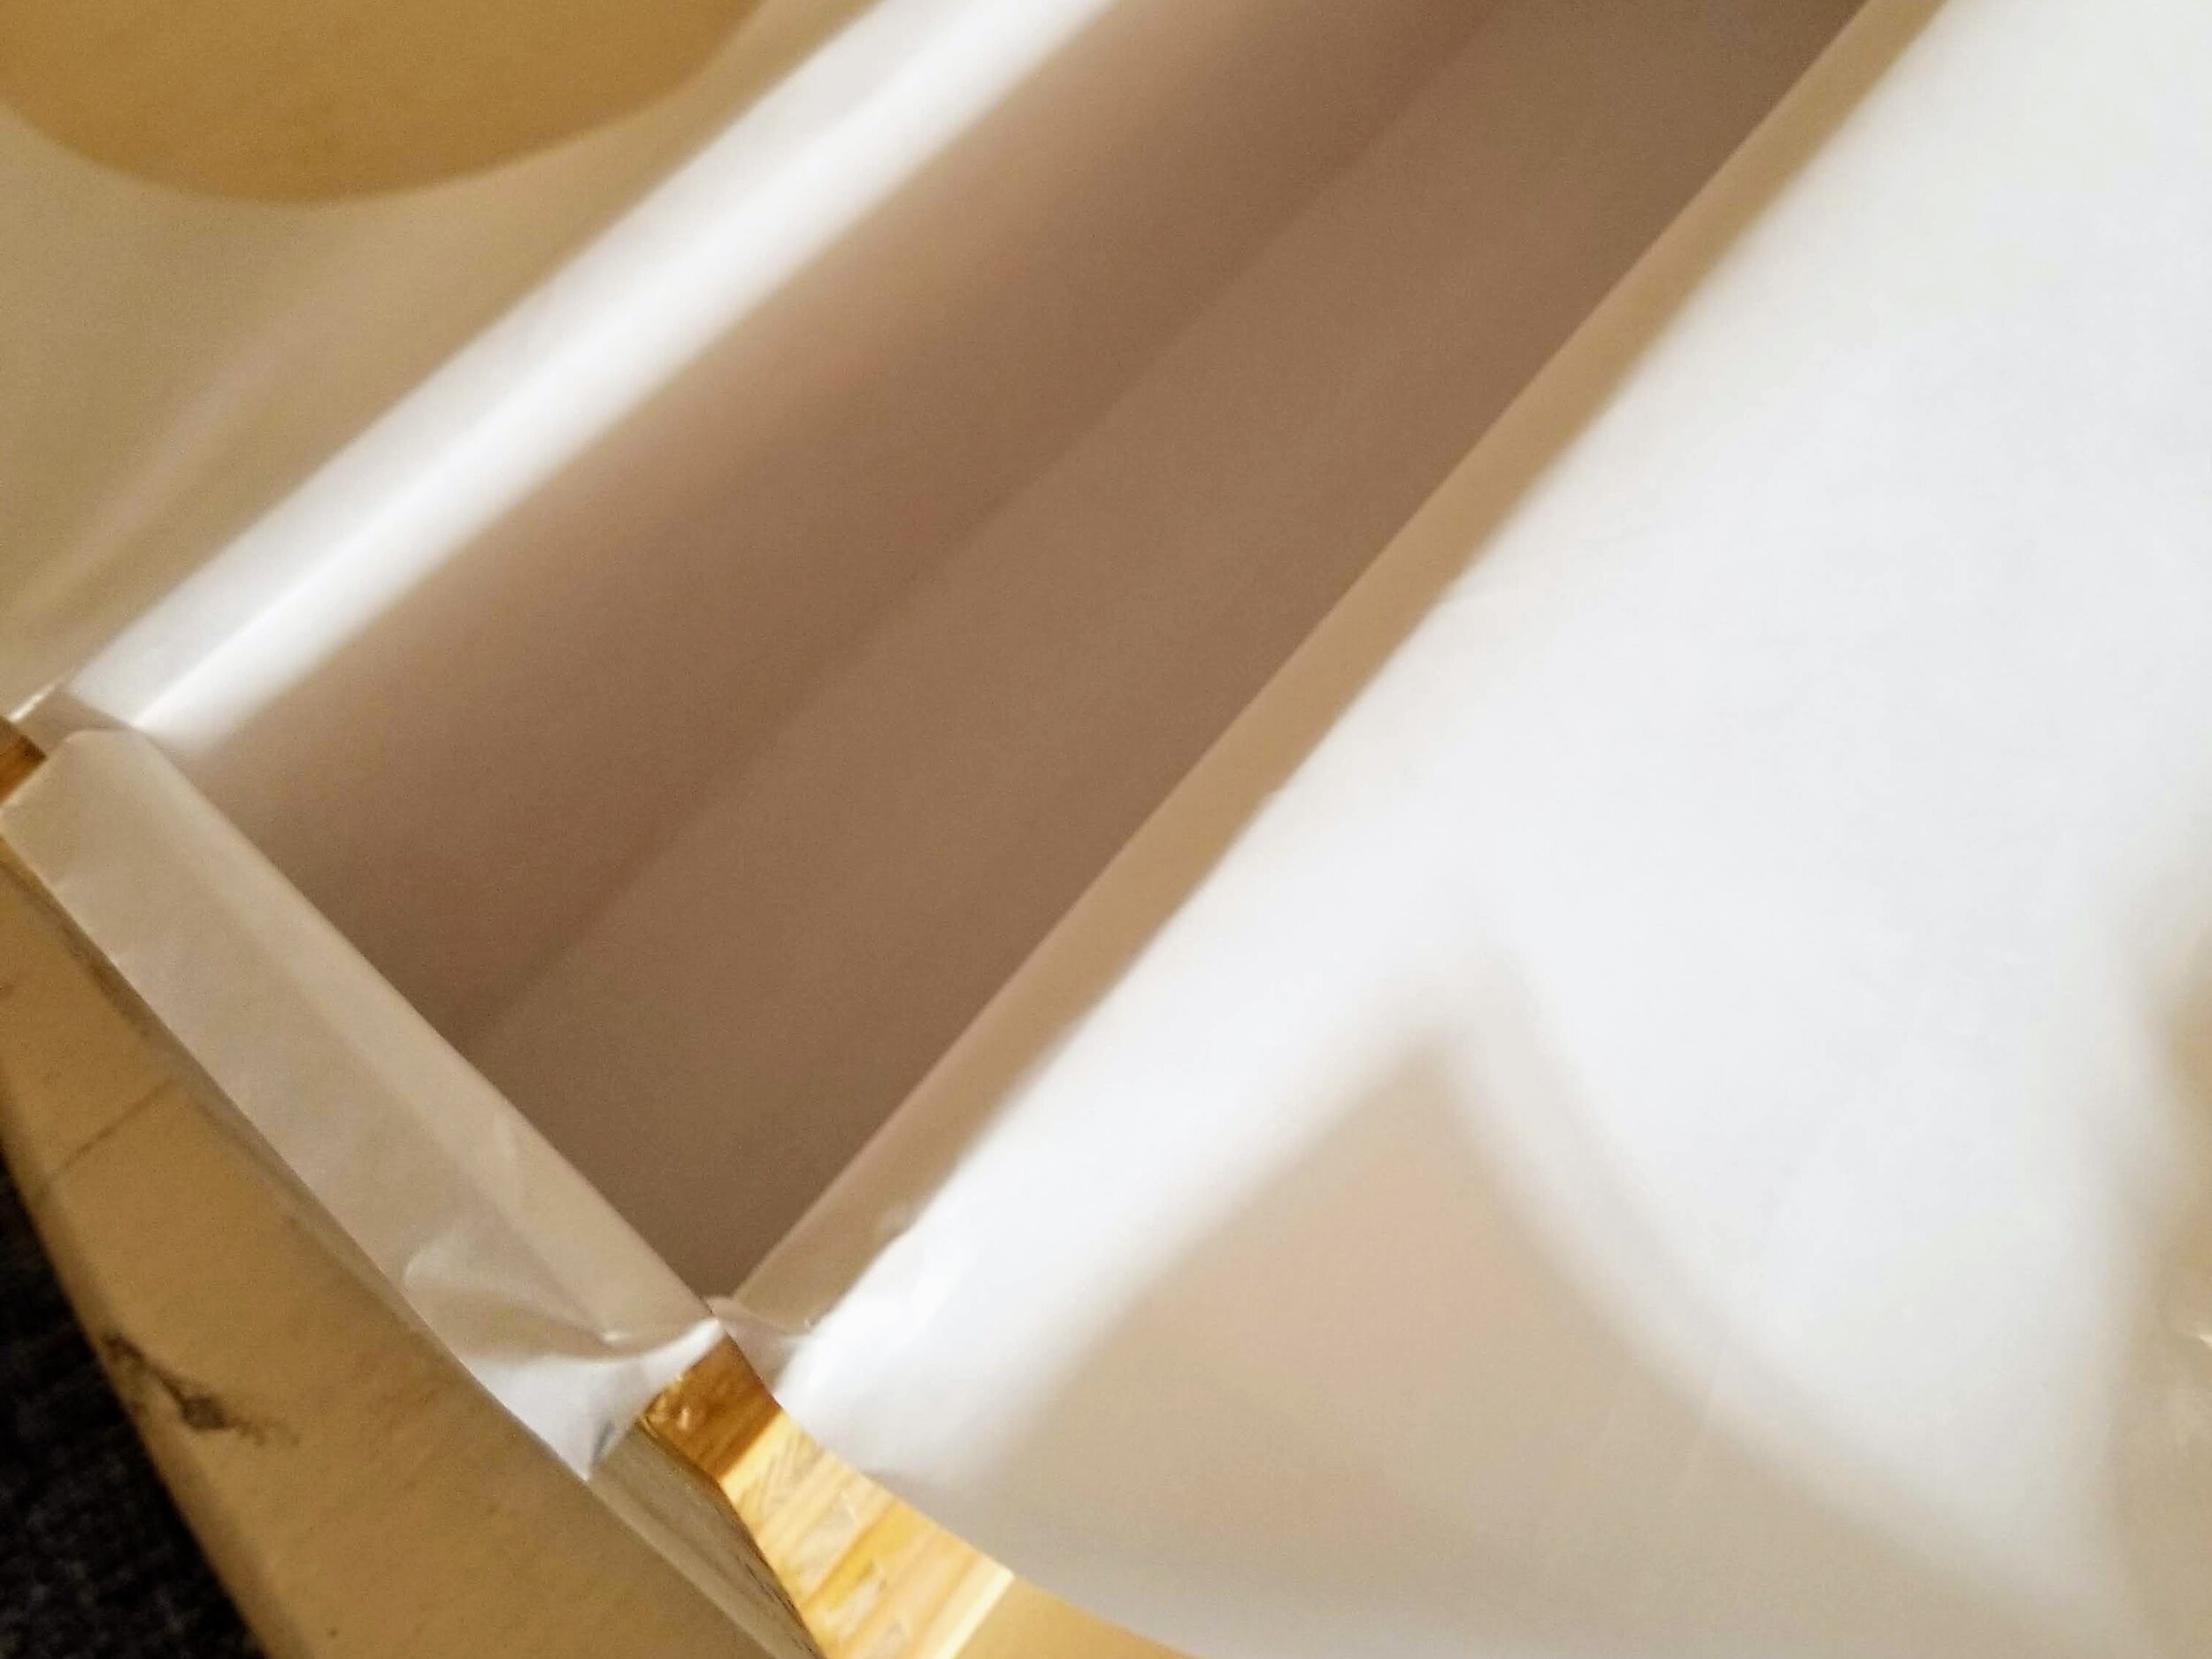
The soap mold you purchase may come with a silicone liner. In my opinion, you can throw that liner away. It is easy to use, but I usually found it hard to unmold the soap. I began using freezer paper (shiny side toward the soap). Freezer paper makes it easy to pull the soap out of the mold and peel off the soap. Use two pieces of freezer paper cut to exact width; one runs the length of the soap mold and over the sides; the second larger piece goes across and over the sides. I also used a silicone heart baking mold. It requires no preparation. Again, don’t use it for baking after using it for soap.
Step Three - Measure Ingredients
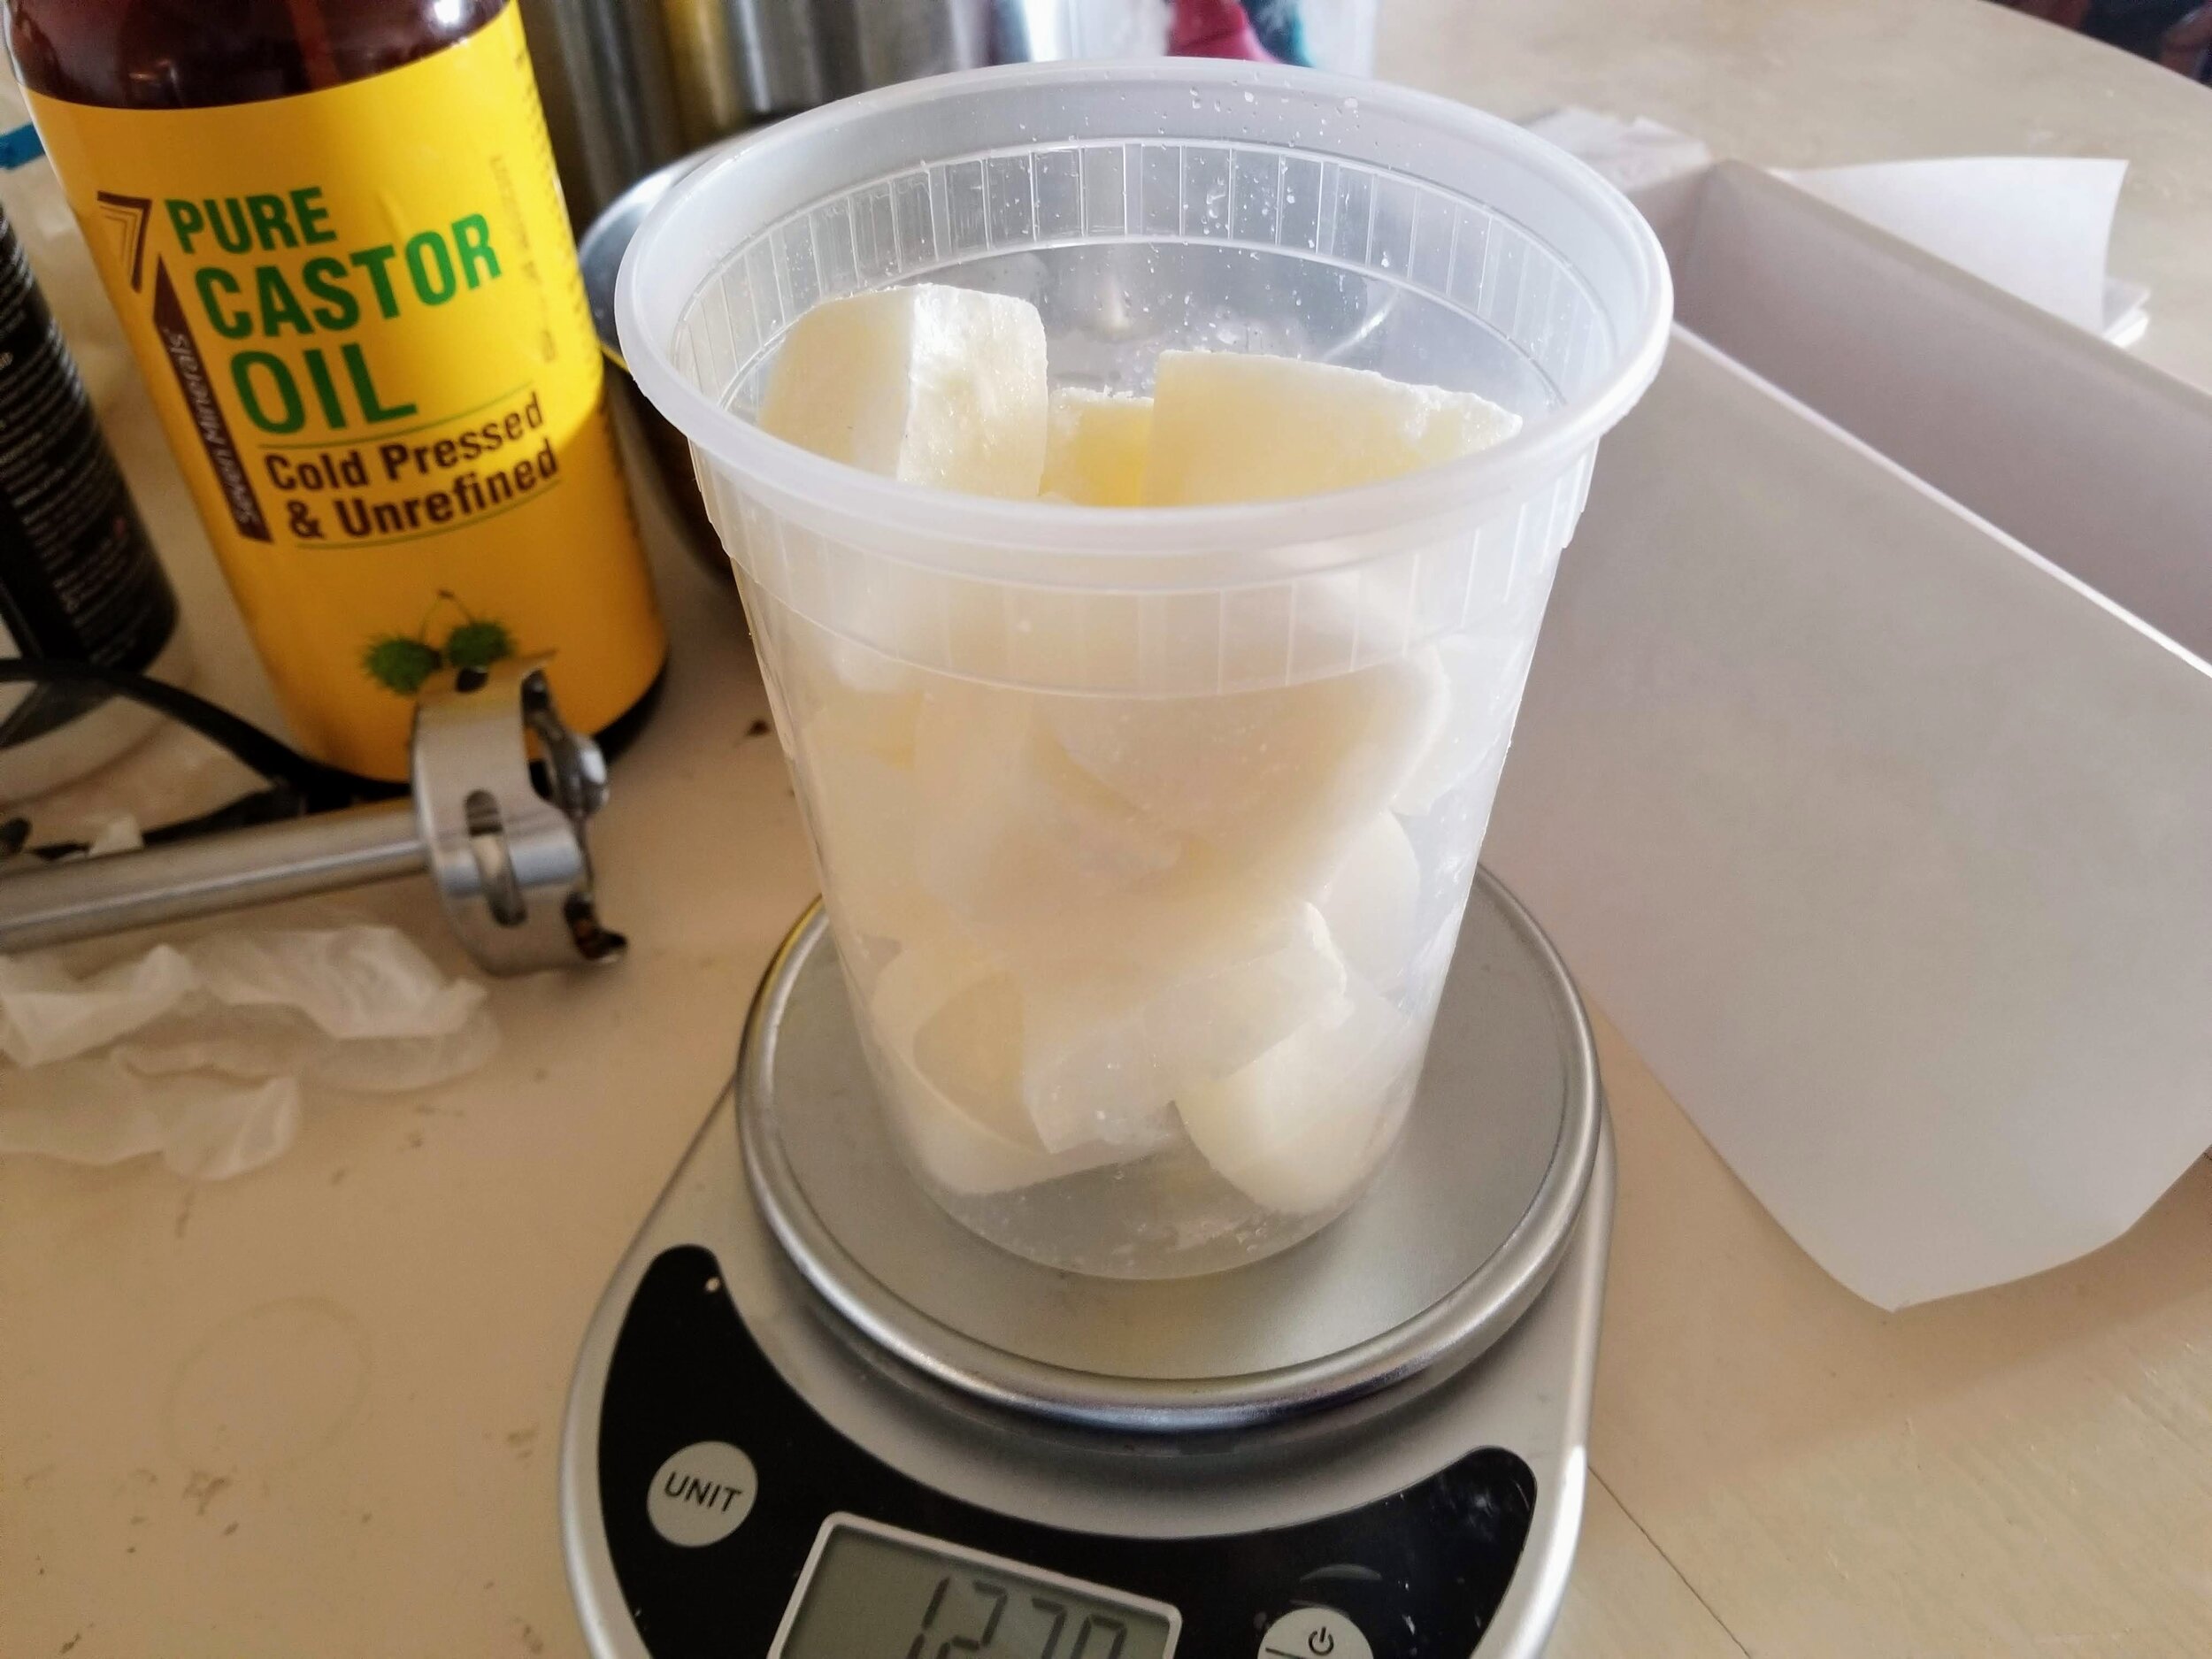
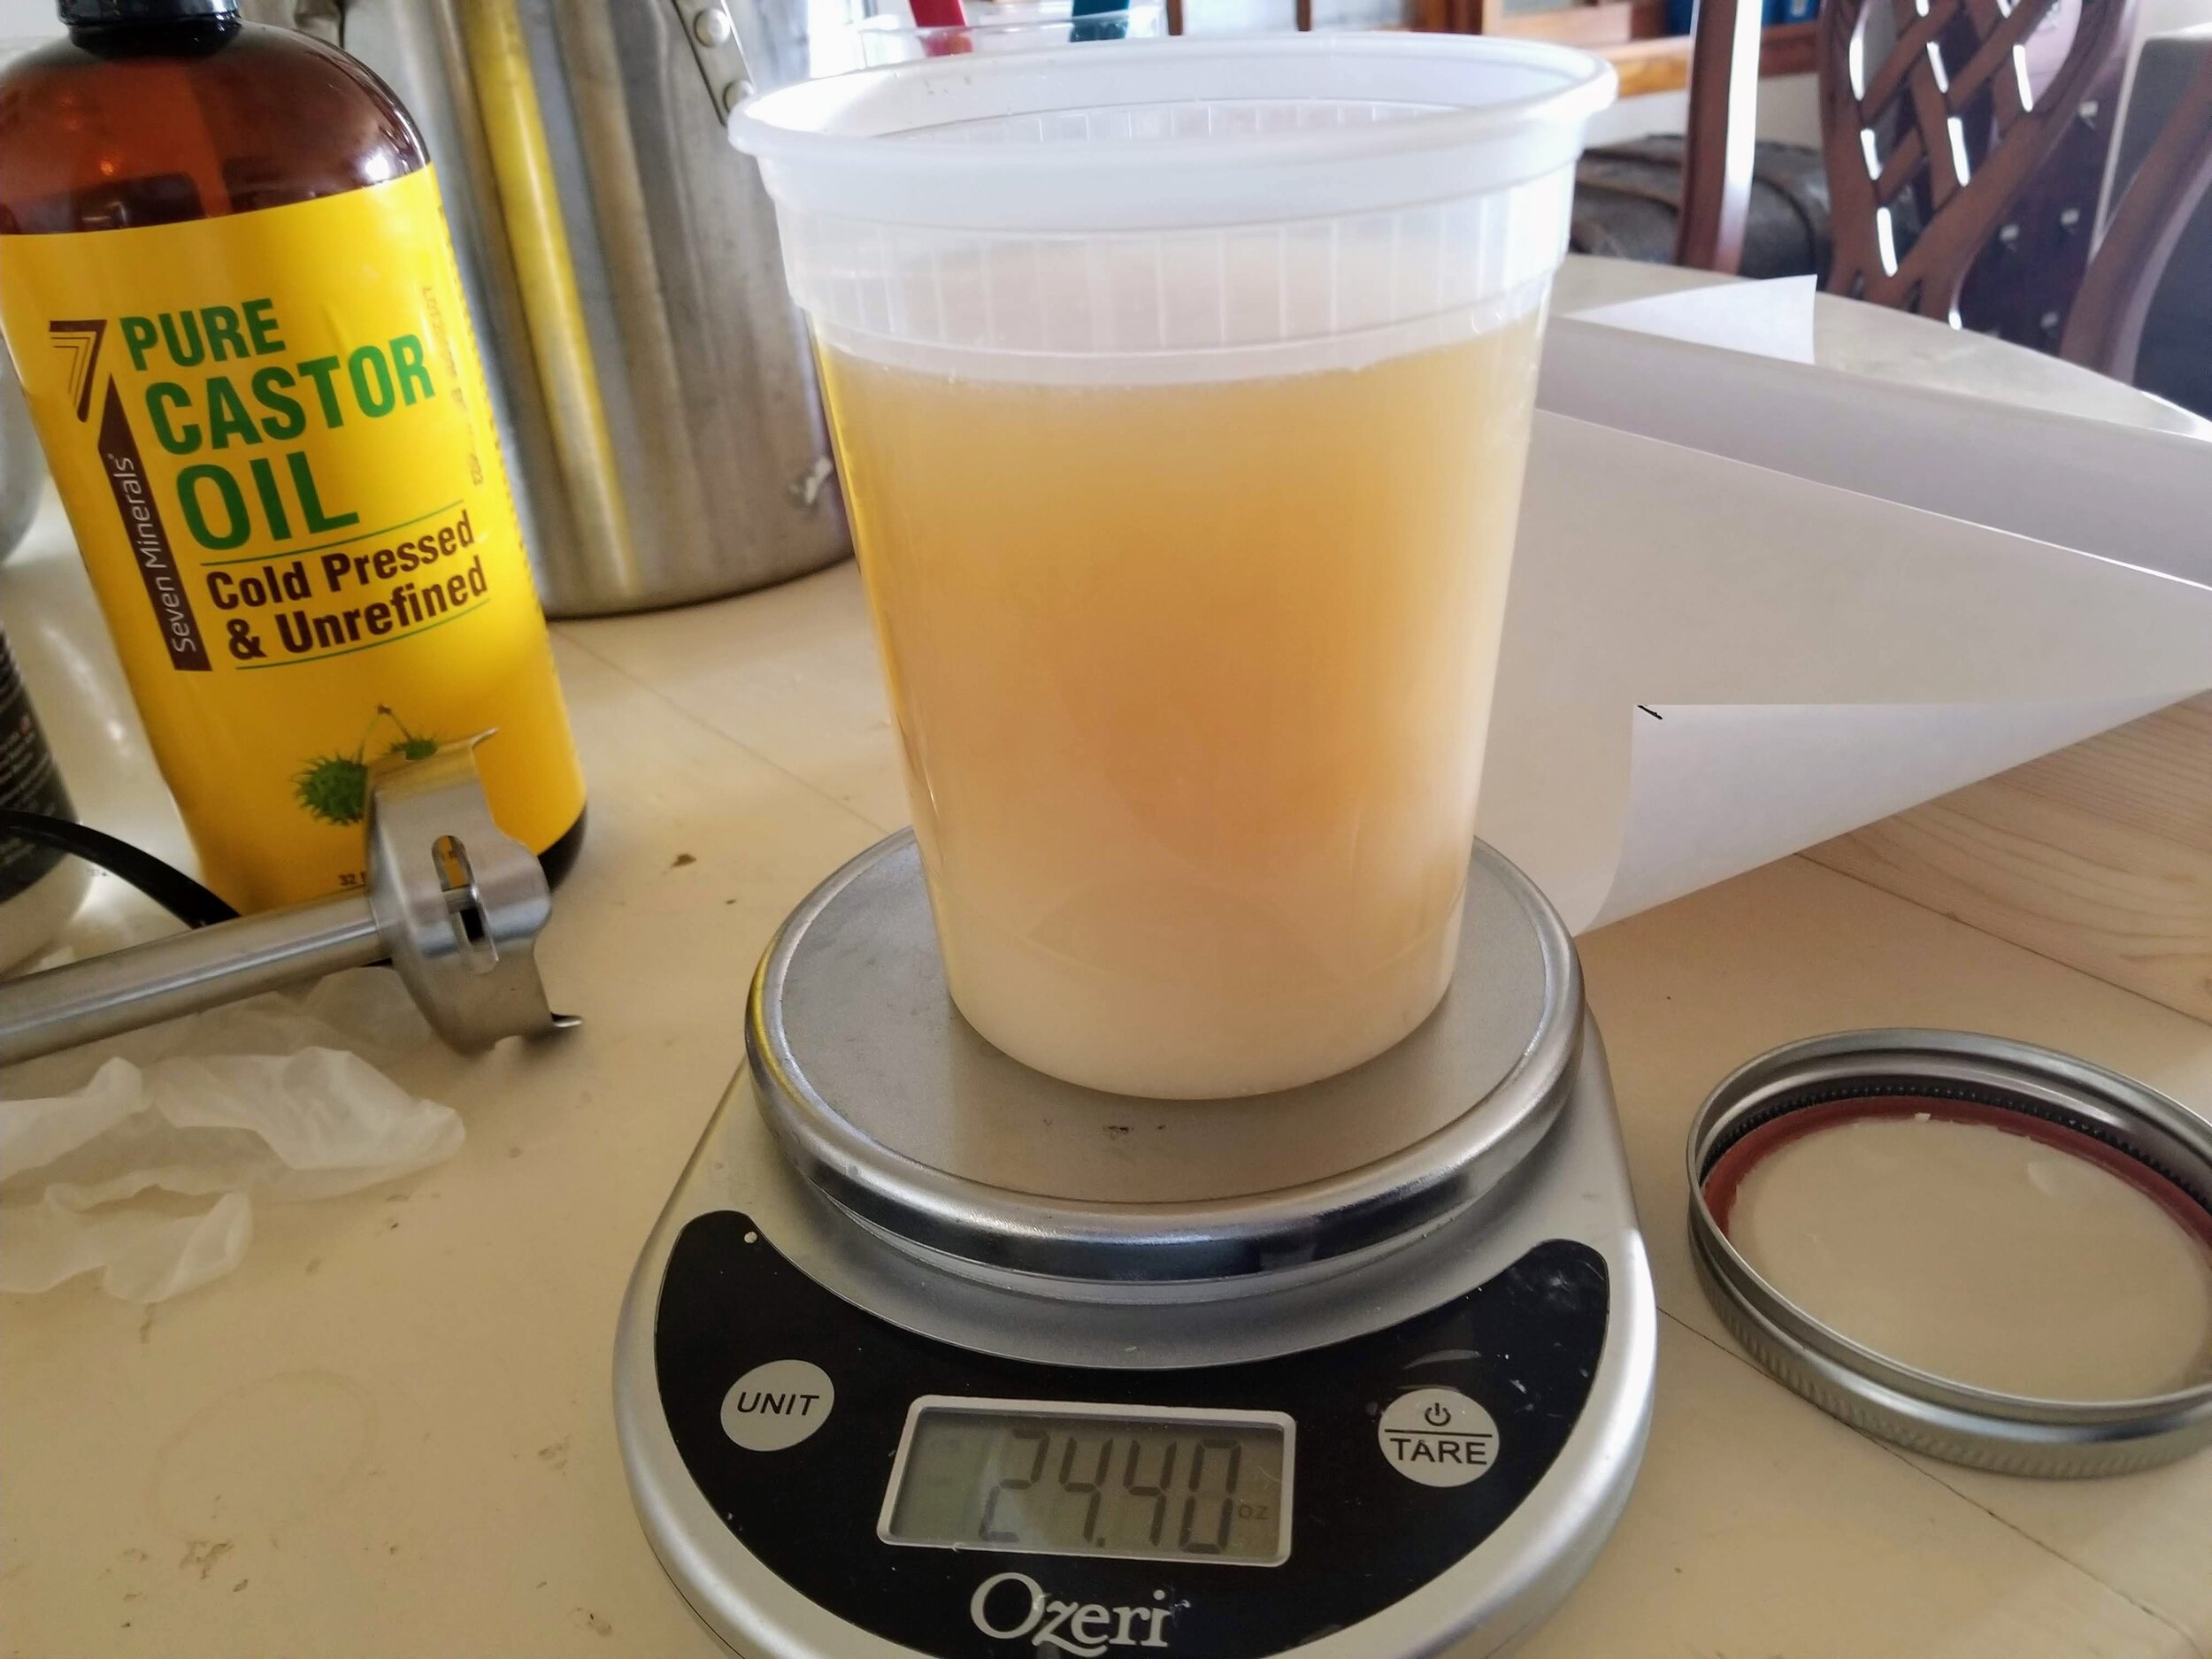
If you use goat milk, be sure to freeze it first. If you use refrigerated or room temperature milk, the lye will cook it and cause an odor you probably don’t want in your soap. I freeze milk in ice trays to make it easier to measure. Be sure your measurements are as exact as possible. Measure the goat milk.

Add the frozen goat milk to the smaller mixing container. Be sure to use your gloves and glasses from here until the end. Measure the lye. Again, be exact. I removed .02 ounces after this photo.

Add lye to frozen goat milk. Never add liquid to lye—always add the lye to liquid. Place the container in a larger container with ice. The lye will begin melting the frozen milk while you are preparing the other ingredients, but you want to keep it cool.

Measure the oils and add to the larger pot. If the oil is not transparent, heat just long enough to melt it.
Step Four - Mix
Once the oil is transparent, remove it from the heat and allow to cool while mixing the lye and milk. Mix the lye and milk with a rubber spatula until all the milk is melted and the lye crystals are dissolved. This will take a few minutes. Most people use an infrared thermometer at this point. I ordered one and it didn’t seem to work, so I gave up on it. In retrospect, I think it was to be used on humans and they probably assume you will not need to know if someone is 90 or 120 degrees. For best results, both the lye solution and the oils will be between 90 and 100 degrees.
Give the oils a quick mix with the stick blender. Be sure to burp the air out of the blender before turning it on, as you do not want bubbles in your soap.
Pour the lye solution into the oil mixture over the shaft of the stick blender to prevent splashing.

Continue mixing, alternating with stirring with the stick blender, while avoiding getting air into the mixture. Mix until you reach “thin to medium trace.” You will have reached trace when you can lift out the stick blender, drizzle the soap mixture on top and it stays rather than immediately sinking back in.


Thin Trace
Step Five - Pour
Once you reach thin to medium trace, pour the mixture into your molds. Be careful not to spill outside the mold as the solution is still caustic at this point.


After pouring into the molds, you can use various tools to make patterns if you like. I used a spoon and a skewer to make swirls.


Step Six - Wait, and Then Cut
Let the soap harden for several hours. Different recipes require more or fewer hours before unmolding. After unmolding, the soap needs to cure for four to six weeks in a place where air can circulate around it to allow the bars to harden and to finish the saponification process. Make sure children and pets cannot reach the soap. During the saponification process, the lye is converted and is no longer caustic.
The best part of soap making—you get to leave the mess until the next day! And that’s not just me being lazy. (Again, make sure this is out of reach of children and pets.) The best way to clean the mess is to let the mixture remaining on the pots and utensils saponify overnight and then clean with a dish soap like Dawn. I know it seems redundant to clean up soap with soap; however, the mixture we made is to clean and moisturize, which leaves some oil on your skin, while soaps like Dawn strip the oil.
I must say, I was a little squeamish using lard to make soap after only using plant oils in the past. However, even cleaning up the mess, I can tell this soap is really moisturizing and it actually made my hands look and feel much smoother and younger! In fact, I can’t wait to use fragrances and colors with this recipe.
If you want to use fragrance with this recipe, be sure to use a fragrance calculator that you can also find online. Many fragrance oils and essential oils behave differently, in that they can cause your soap to accelerate and discolor.

After unmolding, cut the soap into bars, and bevel the edges if you like.

If you would like to come to Durbinshire Farm to make your own soap, contact me. When it is safe to gather again, we look forward to offering a soap making experience. I think we can make Morwenna proud.