Farmhouse Kitchen Remodel

After remodel
From 1970’s to Timeless Farmhouse Style for less than $4,000 and a whole lot of DIY.
Often, the real estate you want is mostly about location, and in our case, it was all about location. When Joe and I decided to start a goat farm, there was no other option in my mind than returning home where I grew up—and we got as close as we could! In fact, right next door. When I was a child, I would ride my denim blue, banana seat bicycle east down the dirt road toward my friend Sharla’s house, handlebar fringes flying in the wind. I would stop in front of this house right here and eat wild sand plums off the bushes by the road. In fact, I carry a constant reminder of riding my bicycle by this house. On one particular ride down the road with Sharla, I remembered seeing a dead skunk on the road nearby. I had intended to point out said skunk to Sharla, but I forgot about it! As soon as I remembered that important show and tell item, I turned my head to see where I missed it. In doing so I also turned my handlebars too sharply and wrecked, landing on my face, and creating a scar on my lip that has lasted more than forty years.
This house was considered one of the fanciest houses in the area from the 1950’s through the 1970’s. The owner took great pride and care in keeping her wood floors as highly polished as she was. I understand she remodeled several times to keep her house fashionable. The oldest part of the house is more than 100 years old, and we can tell from being under the house and in the attic that it was added onto at least two times through the years. The owner passed away and the house remained empty and open to the elements for a few years. Even so, we recognized some quality features in the house that were worth keeping. I’m sure she preferred anything but farmhouse aesthetic, evidenced by some decorator magazine photos we found stapled to the inside of the ironing board cabinet. However, I love farmhouse style and it is perfectly practical for our lifestyle, so that is the style-direction we are taking all our remodeling projects. This is a post-cleaning, pre-remodeling photo of the same kitchen corner.

After cleaning, before remodel
This kitchen had raised panel doors on the cabinets back when raised panel doors were considered unaffordable by most. Not only were they raised panel doors, but the cabinets were completely built in onsite—which we quickly learned as we began trying to relocate some of the cabinet units. These were definitely not cabinets that were built in a shop and screwed to a wall. No, they were nailed in piece by piece, so there was just no way to move an entire block of cabinets unless it was freestanding. The empty space in this photo is where the cookstove was located. We needed to make the space larger because we were gifted this beautiful light blue Chambers stove by Joe’s mother.

To be honest, I wasn’t convinced at first.
Joe’s great aunt and uncle bought this beauty in 1953. Sometime in the 1970’s they passed it on to Joe’s mother, who used it until the early 2000’s, when it finally went to a resting place in their storage shed for almost 20 years. I do love cooking on gas burners, and the light blue color and rounded shape was appealing to me, and Joe convinced me what a great stove it really was. Besides, he had fond memories of making cinnamon toast using the broiler with his siblings during Saturday morning cartoons. We began the process of cleaning and repairing the old stove, and I must say I really love it. The oven is a bit tricky as it was designed to cook on retained heat, but we are figuring that out.
We then proceeded to make the kitchen fit the stove. That meant removing the cabinets that were left of the original stove space, removing the vent hood, and the top cabinets.

As we removed the vent hood, I decided to not try to find one as wide as the stove to replace it. I know, it helps with gas cooking residue, heat dispersion, etc., but here is why. As we took apart the vent hood shaft, we found that more than one rat had become victims of the pit they had fallen into. I’m sure there are ways to keep rats out of vent hood shafts, but I, personally, will no longer be able to see a vent hood as a good thing, and now I have a nice, wide open space above my cookstove.
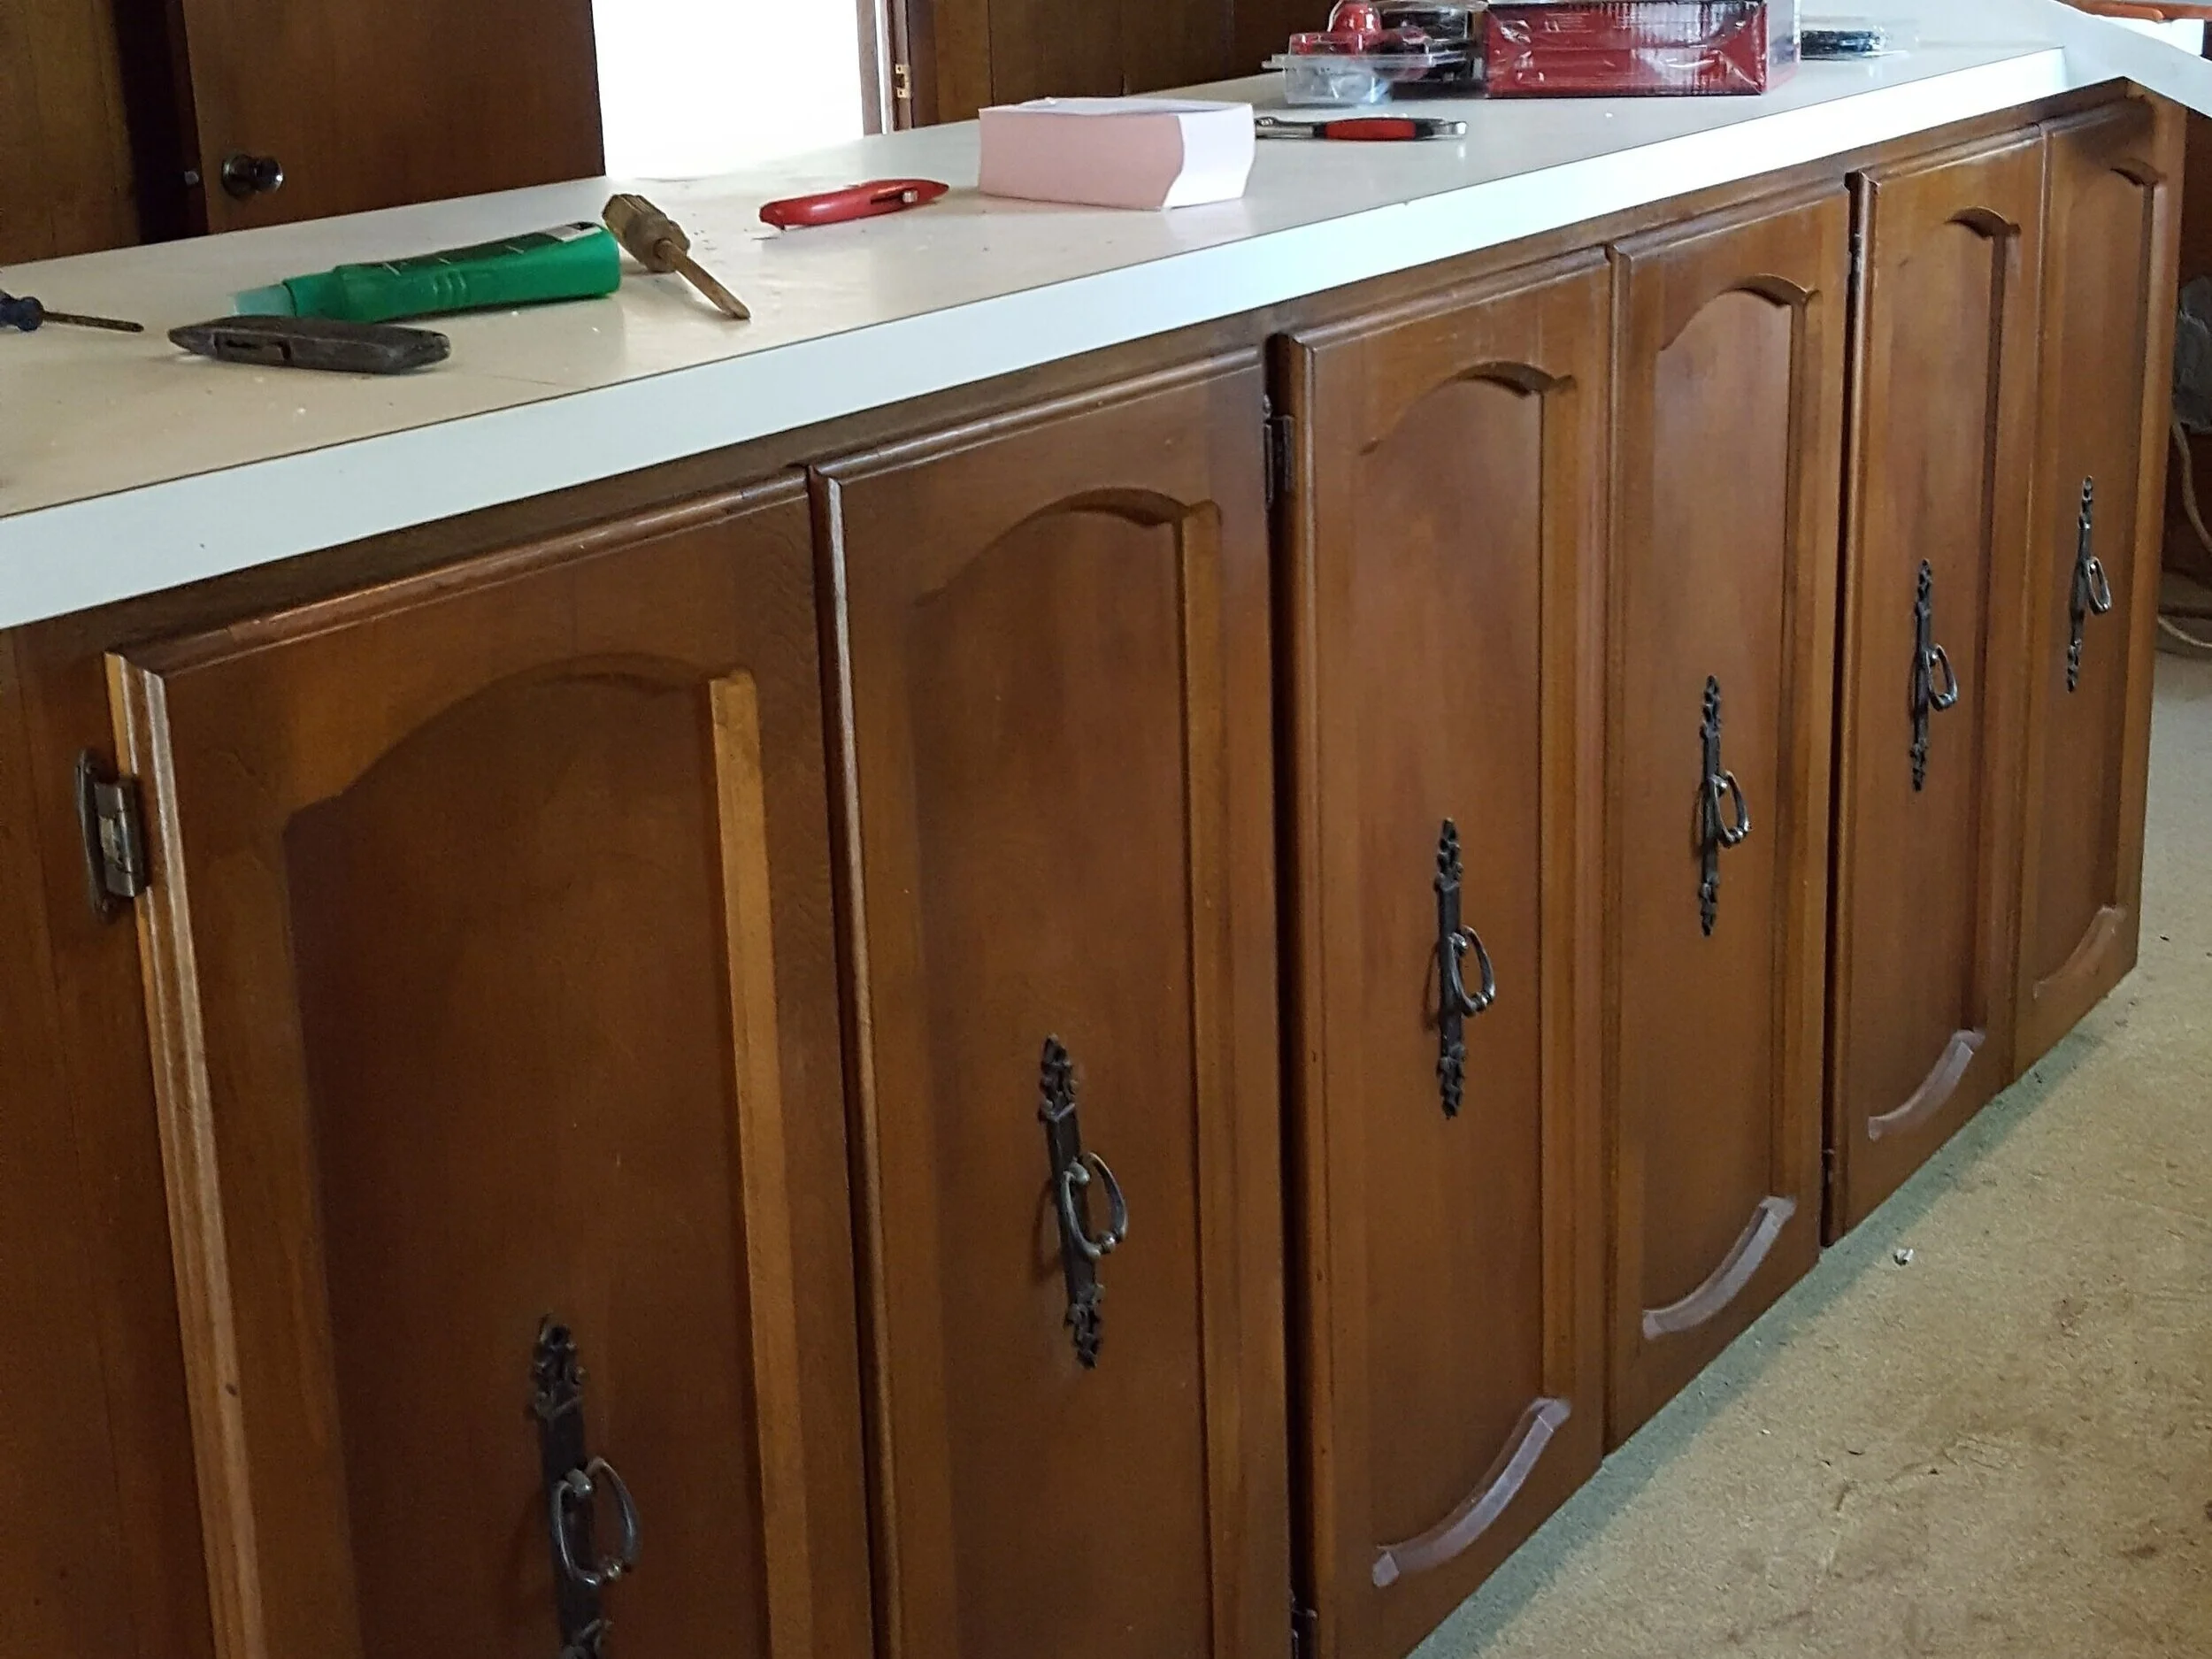
The solid wood cabinets were in great shape, but I didn’t love the color and we didn’t love the hardware. I have a tough time painting over anything made of wood, but a brighter kitchen was a “must” since we knew it would be where we would spend the most time. I think my dad finds it amusing that I replaced white countertops with wood, and painted wood cabinets white. Maybe amusing isn’t the right word. Exasperating?

Our kitchen had a really great bonus sink near the back door. As soon as I saw it, I had visions of washing my garden veggies and processing goat milk—and that is exactly what we use it for. The original sink was a small bathroom sink, which I’m sure served the original purpose of washing up from the field, but we needed a sink suitable for garden veggies and goat milk. We were in luck, as my parents had saved the old drainboard sink that was in their house when they moved into it in 1969. It was a little worse for wear and needed some work. Dad and I added auto body putty to the chips and sanded them, and then I painted the whole sink with an epoxy paint made just for sinks and bathtubs. It worked well, but is beginning to peel just a little after two years of use.

2nd kitchen sink after adding Bondo

2nd kitchen sink after painting with epoxy paint

The washing machine had apparently leaked and rotted the floor under it. We tore out the subfloor and replaced it with shiplap we had taken off another part of the house. We then jacked up the water heater closet and added a layer of plywood.


While working on the subfloor, we also found that termites had eaten through the shiplap behind the washing machine. We replaced that as well, and added insulation, sheetrock, and wallboard.

The kitchen had an L-shaped bar in the middle, with this cabinet above it. It visually cut up the room, and we wanted it gone. Joe had the brilliant idea of moving it to the other side of the kitchen to hang above the stove in place of the cabinets we had to remove there. In order to move it, we had to cut a hole in the ceiling in both places, and use a frame and come-along to lower and re-raise the cabinet. Did I mention the cabinets are solid wood? Solid wood is HEAVY.

This was an accident. and caused us to have to focus quickly on the ceiling. . .

which made our cat, Owen, unhappy. He was accustomed to climbing into the ceiling at will and we had to close up his access holes.

We removed the accoustic tiles and added furring strips.

We used tongue and groove pine planks and left the wood unfinished. Dad removed the recessed lights and replaced them with these glass pendants.

I added the same planks to the fir down and eventually painted that white to visually extend the cabinets that would also be painted white.

My mother had a great idea to paint the inside of the cabinets blue to match the old Chambers stove. We did, and I love it.


I spray painted the hinges to avoid the expense of purchasing new ones. I added new drawer and cabinet pulls in brushed nickel, that I purchased on Amazon.

The kitchen had a door that separated it from the rest of the house. We removed the door and opened the doorway into the dining area/living room.


We finally returned to working on the floor. We used floor leveler to smooth out the ridges and fill any cracks and gouges.

We installed click-lock vinyl planks from Lumber Liquidators that did not require underlayment. I love this color and pattern because it looks exactly like farm dirt.

I built boxes to fill in space and serve as open shelving between the cabinet we moved from the overhead bar area to the wall over the stove..
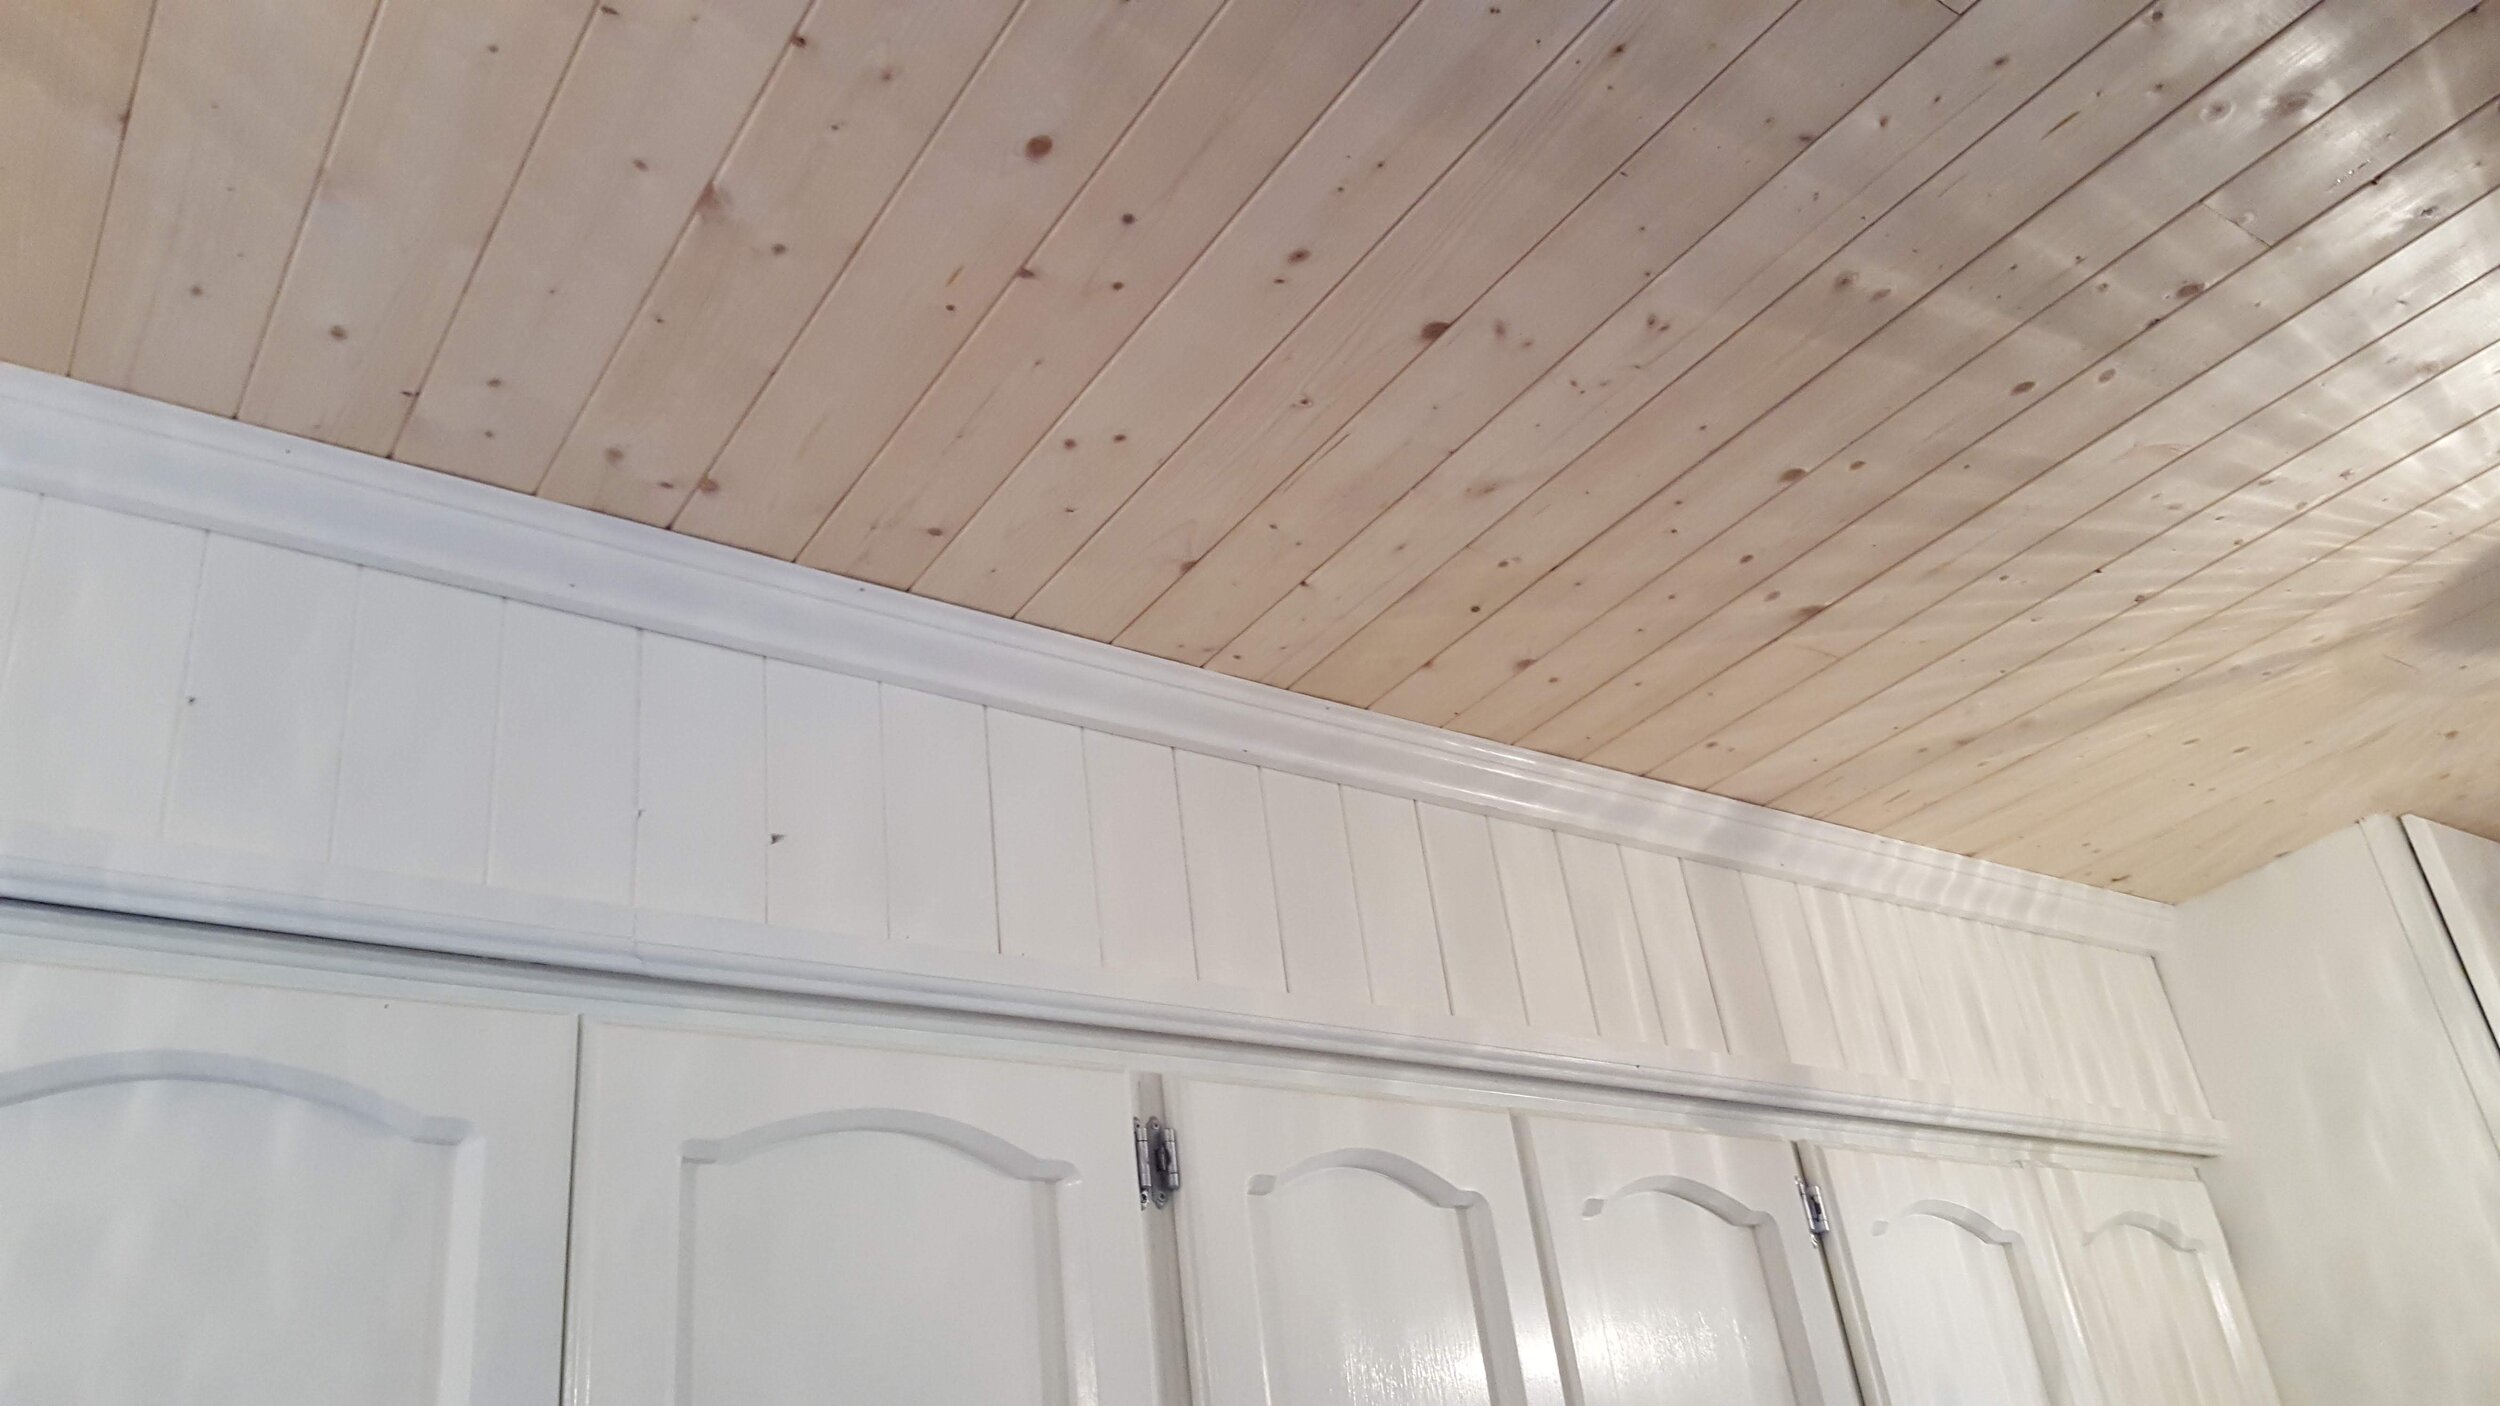
After watching several “how-to” videos on cutting beveled angles, I added crown molding between the ceiling and fir down.


We purchased unfinished hickory butcher block slabs from Lumber Liquidators. I sanded and finished the wood, and we installed them as countertops. I thought this was going to be an easy way to get new countertops, but I soon found out it wasn’t so easy to drill dowel holes and join the corner, while at the same time leveling with shims. I love the final result, though.


My sister-in-law, Misty, helped me install the tile backsplash. We used double sided adhesive to hold the tile in place until grouting.


The white cabinet on the far right side of the room had been part of the L-shaped bar. Dad and I cut it and moved it to the wall. We added an island that was built years before by Joe’s brother and handed down to us by his sister, who used it for several years. I replaced the hardware to match the kitchen cabinets. We have since replaced the top with white marble tile..

We repurposed gas pipe that Joe had removed from under the house to build a microwave stand, to make a bar to hang skillets, and for shelving in another part of the kitchen.. We have used more of the pipe to make curtain rods in other parts of the house to carry through the industrial farmhouse theme.

The whole project took almost a year, but we saved a great deal of money on labor, we learned more than we ever expected, we figured out how to deal with unexpected challenges, and we enjoyed almost every minute. If you have any questions about the materials or methods we used, please contact us here or comment below.